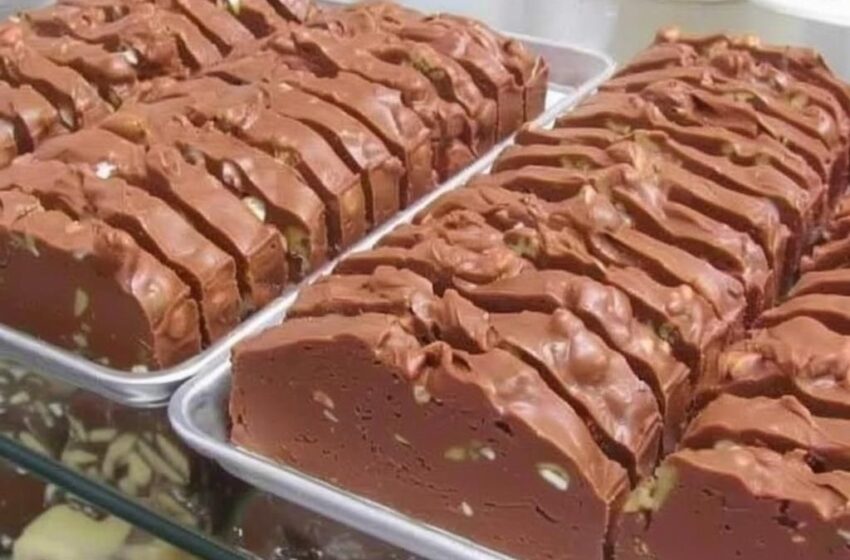
The Ultimate Guide to Making Smooth, Rich Chocolate Fudge at Home
There’s something timeless and comforting about a batch of homemade chocolate fudge. This beloved dessert has been passed down through generations, often written on recipe cards and shared during holidays, family gatherings, and special occasions. What makes this version so popular is its foolproof method, using marshmallow creme to create a perfectly smooth and creamy texture every single time.
Unlike traditional fudge recipes that require precise temperature control and candy-making expertise, this modern approach simplifies the process without sacrificing flavor. The result is a rich, velvety chocolate fudge that melts in your mouth and delivers deep cocoa flavor balanced with sweetness and a hint of vanilla.
This detailed guide transforms a simple recipe into a complete masterclass, helping you understand not just how to make fudge—but how to perfect it.
Why This Easy Chocolate Fudge Recipe Works Every Time
This recipe is often called a “no-fail fudge recipe” for a reason. It removes the guesswork typically associated with candy making by introducing marshmallow creme as a stabilizer.
Here’s why it’s so reliable:
- No need for complicated techniques
- Smooth texture without graininess
- Rich chocolate flavor
- Beginner-friendly method
- Perfect for gifting or holidays
Whether you’re making it for a festive celebration or just to satisfy a sweet craving, this fudge recipe is dependable and delicious.
Understanding the Science Behind Perfect Fudge
At its core, fudge is a carefully balanced mixture of:
- Fat (butter and chocolate)
- Sugar (granulated sugar)
- Liquid (evaporated milk)
When heated together, these ingredients form a syrup that thickens as it cools. The addition of marshmallow creme prevents large sugar crystals from forming, which ensures the fudge stays smooth instead of gritty.
This balance is what gives fudge its signature texture—firm enough to hold shape, yet soft enough to melt in your mouth.
Ingredient Breakdown – Why Each Element Matters
Butter (Unsalted)
Butter adds richness and helps create a smooth texture. Using unsalted butter allows better control over flavor.
Granulated Sugar
This provides structure and sweetness. Properly dissolving the sugar is key to avoiding grainy fudge.
Evaporated Milk
Evaporated milk gives a creamy consistency and slightly caramelized flavor. It’s different from condensed milk and should not be substituted.
Semi-Sweet Chocolate Chips
These bring deep chocolate flavor without being overly sweet. High-quality chocolate enhances the final taste.
Marshmallow Creme
This is the secret to smooth, creamy fudge. It stabilizes the mixture and prevents crystallization.
Vanilla Extract
Vanilla enhances all other flavors and adds warmth to the final product.
Essential Equipment for Best Results
- Heavy-bottom saucepan for even heat
- Wooden spoon or silicone spatula
- Measuring cups and spoons
- 9×9-inch pan for setting
- Foil or parchment for easy removal
- Candy thermometer (optional but helpful)
Step-by-Step Process Explained
Step 1: Prepare Everything in Advance
Fudge comes together quickly, so it’s important to have all ingredients measured and ready.
Step 2: Melt and Combine Base Ingredients
Butter, sugar, and evaporated milk are heated together until fully dissolved.
Step 3: Boil to Proper Consistency
The mixture is brought to a steady boil and cooked until slightly thickened.
Step 4: Add Chocolate and Flavoring
Chocolate chips melt into the hot mixture, followed by vanilla.
Step 5: Mix in Marshmallow Creme
This step creates the smooth texture and thick consistency.
Step 6: Pour and Set
The mixture is poured into a prepared pan and allowed to cool completely.
Pro Tips for Perfect Homemade Fudge
- Stir continuously while heating to prevent burning
- Use medium heat for even cooking
- Don’t rush the cooling process
- Cut only after fully set for clean edges
- Use high-quality chocolate for best flavor
Flavor Variations and Creative Ideas
Once you master the basic recipe, try these variations:
- Add chopped nuts for crunch
- Swirl in peanut butter
- Sprinkle sea salt on top
- Mix in mini marshmallows
- Add caramel drizzle
- Use dark or milk chocolate instead
Storage and Shelf Life
- Store in an airtight container
- Keeps at room temperature for several days
- Refrigerate for longer freshness
- Can be frozen for extended storage
Common Problems and Solutions
Grainy Texture:
Sugar wasn’t fully dissolved or mixture overcooked.
Too Soft:
Not cooked long enough.
Too Hard:
Overcooked mixture.
Greasy Surface:
Chocolate overheated or not mixed properly.
Why This Recipe Is Perfect for Any Occasion
This fudge is:
- Great for holidays
- Ideal for homemade gifts
- Perfect for dessert platters
- Easy for beginners
- Loved by all ages
It’s a classic treat that never goes out of style.
Final Thoughts
Homemade chocolate fudge is more than just a dessert—it’s a tradition, a memory, and a simple pleasure that brings people together. With this easy, reliable method, you can create bakery-quality fudge right in your own kitchen.
Once you try it, you’ll find yourself making it again and again.
Part 2: Simple Step-by-Step Recipe
Ingredients
- Unsalted butter
- Granulated sugar
- Evaporated milk
- Semi-sweet chocolate chips
- Marshmallow creme
- Vanilla extract
1. Prepare Pan
Line a square pan with foil and lightly grease it.
2. Heat Base Ingredients
In a saucepan, combine butter, sugar, and evaporated milk. Heat and stir until melted and smooth.
3. Boil Mixture
Bring to a boil and cook for about 5 minutes, stirring frequently.
4. Add Chocolate & Vanilla
Remove from heat and add chocolate chips and vanilla. Let sit briefly, then stir until smooth.
5. Mix in Marshmallow Creme
Stir until fully combined and thick.
6. Pour & Set
Spread into prepared pan and smooth top.
7. Cool Completely
Let sit at room temperature, then refrigerate until firm.
8. Cut & Serve
Slice into squares and enjoy.
Quick Tips
- Don’t overcook
- Stir consistently
- Let it fully set before cutting